
First Steps
After LiveConfig has been installed, open a browser and enter the address of your LiveConfig server. If you have kept the default settings in the configuration file, the address is:
https://<your-server-ip>:8443/
Of course you can also use your DNS name (if already configured). If you want to access LiveConfig using an IPv6 address, put this in square brackets, like e.g. https://[2001:db8::1]:8443/.
Propably you will get a warning from your browser because of an unknown/untrusted SSL/TLS certificate. See TLS (SSL) Configuration on how to configure a SSL certificate for LiveConfig.
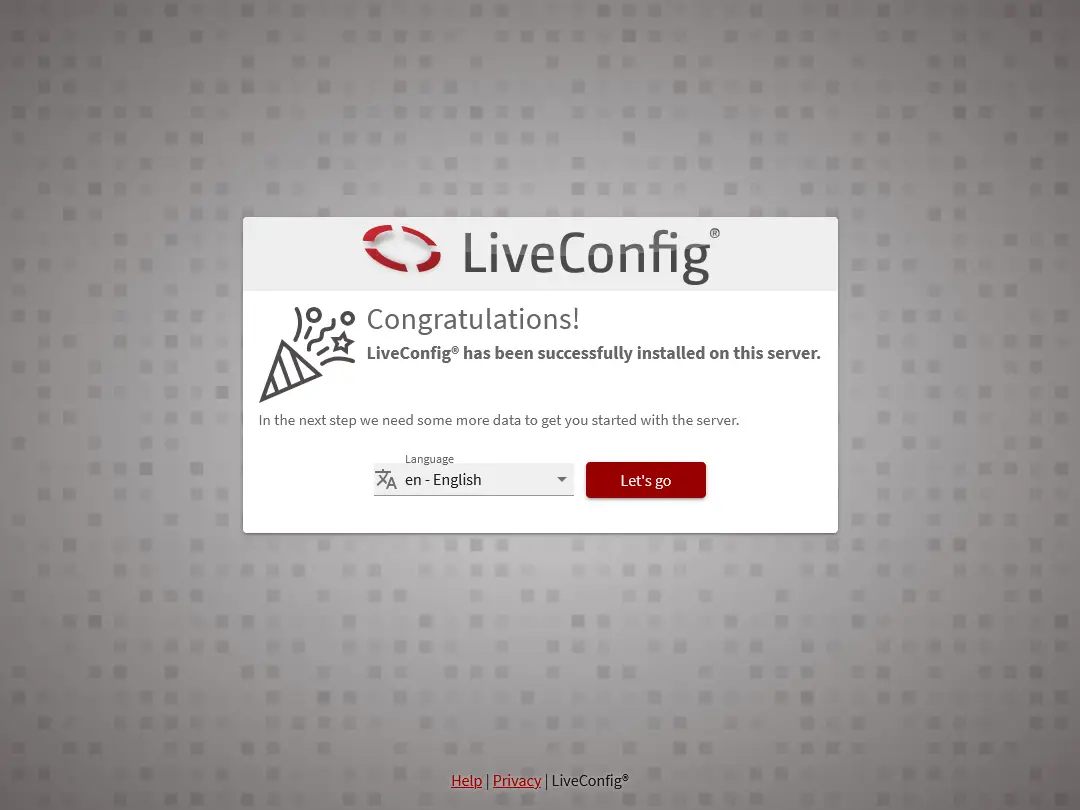
If everything went well, you will see the LiveConfig onboarding page:
A special feature of LiveConfig is that you can decide yourself which services should be managed by LiveConfig and which not. Therefore, you must first set up the management of the services you want. In the left navigation menu, click on Server -> Server Management. When you use a Business License, click on the server you want to manage. You’ll see the server overview page then:
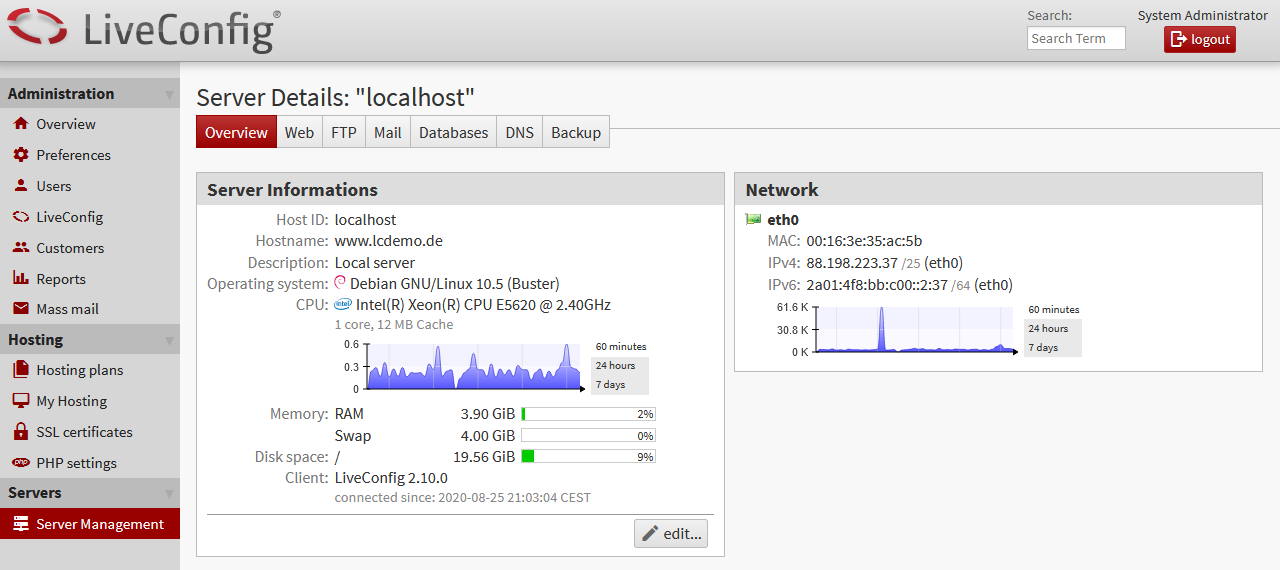
Click through the navigation tabs to manage the desired services: